
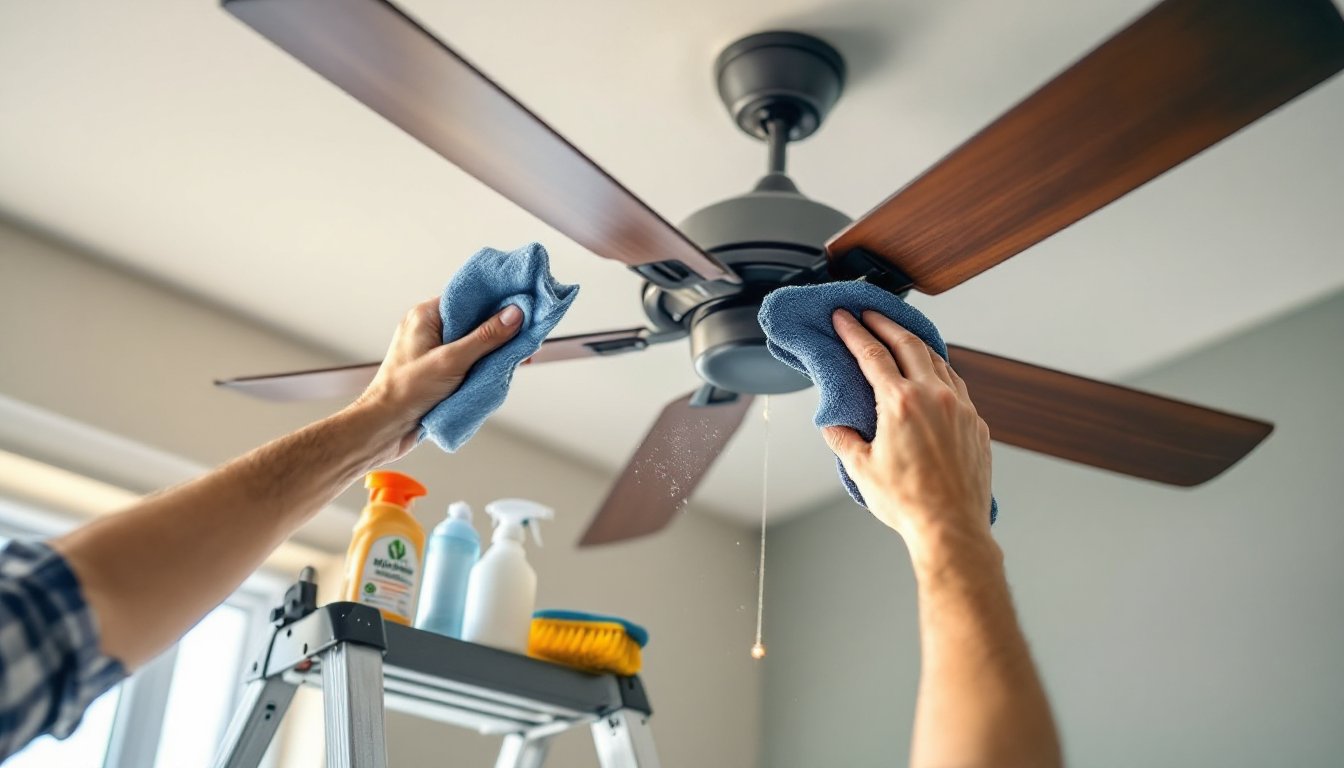
Ceiling fans and light fixtures are often overlooked during regular home cleaning routines, yet they’re among the first places dust and debris accumulate. When these fixtures go unattended, they collect particles that eventually spread back into the room’s air and settle on surfaces you’ve already cleaned. The good news? A systematic approach to cleaning ceiling fans and light fixtures keeps your home’s appearance sharp and helps maintain better indoor air quality. This guide walks you through the tools, techniques, and pro tips you need to tackle this task confidently, whether you’re maintaining existing fixtures or preparing for a deep house cleaning project.
Table of Contents
ToggleKey Takeaways
- Regular ceiling fan and light fixture cleaning improves home appearance and indoor air quality by preventing dust and allergen accumulation that spreads throughout your living space.
- Cleaning ceiling fans and fixtures every 3 to 6 months maintains equipment efficiency, reduces energy consumption, and prevents motor strain caused by dust buildup.
- Microfiber cloths are essential for effective ceiling fan and light fixture cleaning because they trap dust electrostatically rather than redistributing it into the air.
- A systematic step-by-step approach—turning off power, using dust-catching cloths, wiping from inner edge to tip, and cleaning the motor housing—takes just 10-15 minutes per ceiling fan.
- Different fixture types require tailored cleaning methods: crystal chandeliers need individual attention with soft cloths, while recessed and flush-mount lights require power-off and careful trim-ring wiping to avoid damaging internal wiring.
- Weekly dusting with a long-handle duster and seasonal deep cleans aligned with daylight saving time changes keep fixtures cleaner longer while preventing dust from rapidly resoiling surfaces.
Why Ceiling Fans and Light Fixtures Require Regular Cleaning
Ceiling fans and light fixtures act like magnets for dust, dead skin cells, and airborne debris. Because they sit above eye level, homeowners often forget about them until the buildup becomes visible, and by then, dust has already redistributed itself throughout the room.
Dust on fan blades doesn’t just look dingy: it also reduces the fan’s efficiency. A layer of grime forces the motor to work harder to spin the blades, using more electricity and potentially shortening the fixture’s lifespan. Similarly, dusty light fixtures scatter light unevenly and can dim the room’s overall brightness noticeably.
Regular cleaning also prevents allergen accumulation. If anyone in your home has allergies or respiratory sensitivities, airborne dust from neglected fixtures worsens symptoms. A quarterly or bi-annual cleaning schedule keeps fixtures functioning properly and maintains a healthier indoor environment. Most homeowners find that tackling this task every 3 to 6 months strikes the right balance between effort and results.
Essential Tools and Materials You’ll Need
Before you climb a ladder, gather your supplies. Having everything within arm’s reach prevents unnecessary trips up and down, which wastes time and increases the risk of losing your balance.
Basic tool list:
• Step ladder or secure standing surface (step stool works for fans lower than 8 feet)
• Microfiber cloths (2–3: they trap dust better than cotton rags)
• Soft-bristled brush (old toothbrush or small duster)
• Warm water in a bucket or spray bottle
• Mild dish soap or all-purpose cleaner
• Cotton swabs for tight corners
• Safety goggles and work gloves
• Optional: old pillowcase or dust-catching cloth
Microfiber cloths are non-negotiable here. They grab dust electrostatically rather than just pushing it around, so you’re actually removing particles instead of creating a dust cloud that settles on everything below. Keep one cloth damp (not wet) and one dry for buffing.
For house cleaning tools that handle multiple surfaces, microfiber is a workhorse. Avoid paper towels, they shed fibers and require more passes to clean effectively. Skip harsh chemicals like bleach or acetone-based cleaners unless the fixture manufacturer specifies them: mild soap and water handle 90% of the job.
Step-By-Step Guide To Cleaning Ceiling Fans
Ceiling fan cleaning is straightforward once you establish a routine. The key is turning off the power before you start, a spinning blade meeting your hand or cloth is a serious hazard.
1. Cut the power. Flip the wall switch and, if your fan has a pull-chain, ensure it’s in the off position. Don’t rely on the remote control: physically switch it off at the wall.
2. Position your ladder. Place it directly under the fan, ensuring it’s stable and on a level surface. A wobbly ladder makes this task dangerous and uncomfortable.
3. Prepare a dust-catching cloth. An old pillowcase slipped over each blade as you wipe it catches dust before it falls. This saves cleanup time and keeps dust out of the air. If you don’t have a pillowcase, position your damp microfiber cloth under the blade edge before wiping.
4. Wipe each blade. Starting with one blade, wipe from the inner edge (near the motor housing) toward the tip using slow, firm strokes. Flip the cloth to a clean section for each blade to avoid redepositing dust. Pay special attention to the top surface of the blade, that’s where heavier dust accumulates.
5. Clean the motor housing. Once blades are done, wipe down the motor housing and any visible internal components with a dry microfiber cloth. For professional house cleaning operations, this step is standard: do the same for your own home.
6. Address the light kit (if applicable). If your fan has a built-in light, wipe the trim ring and globe carefully. Don’t spray cleaner directly onto the light fixture, apply it to the cloth first, then wipe.
The whole process typically takes 10–15 minutes per fan. For stubborn buildup, a slightly damp cloth works better than a dry one, but avoid excess moisture near the motor.
How To Clean Different Types of Light Fixtures
Light fixtures come in dozens of styles, but a few categories cover most homes. Each requires a slightly different approach.
Crystal and Glass Chandeliers
Chandeliers demand patience because each piece is a separate cleaning task. Start by laying a soft cloth or towel under the fixture to catch any loose crystals if fasteners are loose. Turn off the power.
For house deep cleaning operations on crystal, spray a chandelier-specific cleaner (or warm water with a drop of dish soap) onto a soft cloth, never spray directly onto the fixture, as liquid can pool in sockets or seep into wiring. Using a cotton swab, clean the base where each crystal meets the frame: that’s where dust accumulates. Gently wipe each crystal with the dampened cloth, supporting it lightly as you work. Buff dry immediately with a second microfiber cloth to prevent water spots.
If crystals are removable (many older fixtures feature this), remove them individually, clean them in soapy water, rinse, and replace once the fixture is dry. This is tedious but produces the best results for truly dingy chandeliers.
Recessed and Flush-Mount Lights
Recessed cans (also called downlights) are simpler to handle. Turn off the power, then wipe the trim ring, the visible metal or plastic border around the light opening, with a dry microfiber cloth. If the fixture has a trim piece you can safely remove without tools, wipe it and the opening behind it. Never insert a cloth deep into the can itself: you risk damaging insulation or wiring.
Flush-mount fixtures sit directly against the ceiling. Remove the decorative lens or shade if possible (most twist or slide off without tools). Wipe the inside surface of the lens, the mounting ring, and the bulb area with a dry cloth. Reassemble carefully, making sure clips or twist-locks fully engage. These fixtures often have a removable diffuser, take advantage of that design and wash the diffuser separately in warm soapy water if it’s heavily soiled.
Pro Tips To Keep Your Fixtures Cleaner Longer
Once fixtures are clean, simple habits prevent rapid resoiling.
Dust weekly with a long-handle duster. A quick 30-second pass over fan blades and fixture trim between deep cleans cuts down the dust load significantly. This is especially important if your home is near a busy road or in a dry climate where dust storms are common.
Schedule seasonal deep cleans. Mark your calendar for spring and fall, align them with daylight saving time changes if it helps you remember. These two annual deep sessions plus quarterly touch-ups keep fixtures looking fresh without requiring intensive effort.
Monitor humidity in high-moisture areas. Bathroom and kitchen fans attract moisture-laden dust that clings more stubbornly than dry dust. Wipe these fixtures every 2–3 months rather than quarterly. Similarly, if you run a home deep cleaning schedule, prioritize moisture-prone rooms.
Use air filters rated for your HVAC system. A clogged HVAC filter forces more unfiltered air through your home, increasing airborne dust that settles on fixtures. Changing or cleaning filters every 1–3 months (depending on the filter type and household dust production) reduces the dust that reaches your fixtures in the first place.
Rotate ceiling fans seasonally. Many modern fans have a reverse switch that pulls warm air down in winter and up in summer. This adjustment can improve air circulation in ways that reduce dust stratification, dust settles more evenly rather than concentrating on blades.
Tackling fixture cleaning systematically prevents it from becoming a dreaded annual chore. Instead, it becomes a quick maintenance task that takes minutes and keeps your home looking brighter and cleaner.