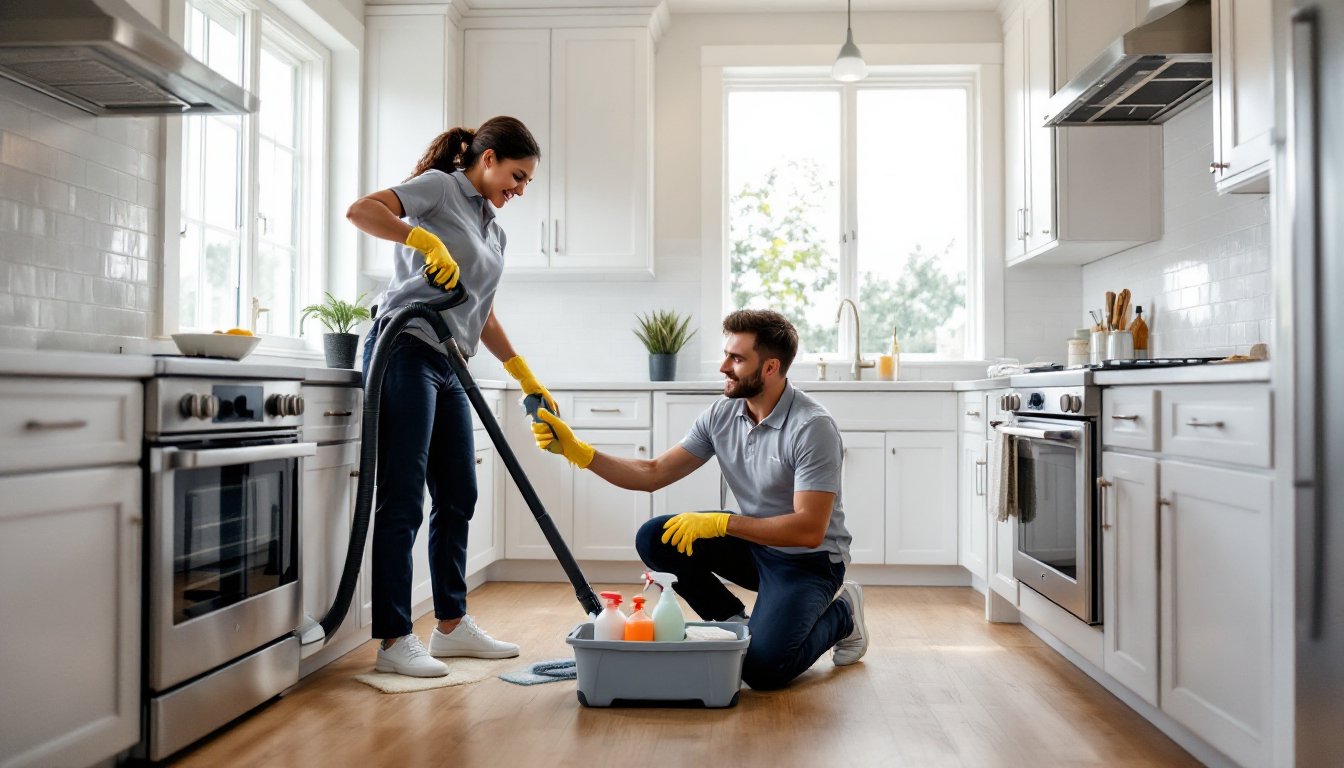

Deep cleaning goes beyond your weekly dust-and-vacuum routine, it’s the thorough, methodical work that tackles grime in places you don’t see every day. Whether you’re prepping for a move, addressing months of buildup, or simply wanting your home to shine, learning how to deep clean effectively saves time and money compared to hiring a service every time. This guide walks you through the tools, techniques, and room-by-room strategies that professionals use to get results, so you can decide whether to tackle it yourself or call in help when needed.
Table of Contents
ToggleKey Takeaways
- Deep cleaning services for home target areas regular cleaning misses—baseboards, appliance interiors, ceiling corners, and high-touch surfaces—typically performed twice yearly for optimal results.
- Invest in quality tools like microfiber cloths, stiff-bristled brushes, and proper safety gear (gloves, dust mask, glasses) before starting to avoid common DIY mistakes.
- Kitchens require special attention to appliances, cabinet hardware, and grout lines where grease and bacteria accumulate fastest, making them the highest priority in any deep clean.
- Bathrooms demand strict mold and mildew control in shower corners, under toilet rims, and exhaust vents; never mix bleach with ammonia products as toxic gas forms instantly.
- Spreading your deep cleaning across multiple days prevents burnout while allowing spray applications and surfaces to dry properly between tasks.
- Professional deep cleaning companies can complete full houses in 4–8 hours, making them a worthwhile investment for seasonal deep cleans, special situations, or when time is limited.
What Is Deep Cleaning and Why Your Home Needs It
Deep cleaning targets areas that regular cleaning skips: baseboards, inside appliances, behind furniture, ceiling corners, and light fixtures. While weekly tidying keeps surfaces clear and floors swept, deep cleaning addresses dust accumulation, mold prevention, and sanitization of high-touch areas. What sets deep cleaning apart is that it’s scheduled less frequently, typically twice a year or annually, but covers every nook thoroughly.
You’ll want to deep clean before seasonal changes, after illness spreads through your household, or when you notice dust on surfaces even though regular cleaning. For renters moving out or homeowners selling, a professional-level deep clean can mean the difference between losing a security deposit and getting your full amount back. Allergies and air quality also improve dramatically when baseboards, vents, and under-appliance areas are tackled.
Essential Tools and Products for Deep Cleaning
Gather these items before you start: skipping prep work is the biggest DIY mistake.
Cleaning Tools:
• Microfiber cloths and mop pads (superior to cotton: they trap dust instead of spreading it)
• Stiff-bristled brushes for baseboards, grout, and appliance interiors
• Vacuum with upholstery and crevice attachments
• Squeegee for shower doors
• Old toothbrush for detail work in corners and around fixtures
Cleaning Products:
• All-purpose degreaser (cuts through kitchen and bathroom grime without toxic fumes)
• Mildew and mold remover (concentrate types work better than spray bottles)
• Disinfectant (verify it kills 99.9% of germs for deep-clean results)
• Glass cleaner
• Grout brush or oxygen-based cleaner
Safety Gear:
• Rubber gloves (protects hands and improves grip on wet surfaces)
• N95 dust mask (non-negotiable when working with attic areas, behind appliances, or old carpet)
• Safety glasses (especially when cleaning overhead surfaces)
Don’t cheap out on microfiber: quality cloths last longer and clean better than flimsy alternatives.
Deep Cleaning Your Kitchen: The High-Touch Areas That Matter Most
The kitchen is where bacteria and grease accumulate fastest. Start by emptying one cabinet at a time, wiping the interior, and returning items only after the surface dries completely.
Appliances:
- Microwave: Heat a bowl of water with vinegar inside for 5 minutes to loosen splatters, then wipe clean. This works on interior walls, the ceiling, and the turntable.
- Oven: Use a commercial degreaser or baking-soda paste (¼ cup baking soda + 3 tablespoons water). Let sit overnight, then scrub with a stiff brush.
- Refrigerator coils: Unplug, then vacuum and brush the coils at the back or bottom. Dust here blocks airflow and reduces efficiency.
- Range hood filter: Soak in hot, soapy water or degreaser for 15 minutes, then scrub with a brush.
Counters and Backsplash:
Move small appliances and decor off the counter. Wipe down the counter surface, then backsplash, grout lines, and wall edges where grease collects. Pay special attention to corners where cabinet meet wall, dust and grease hide there.
Baseboards and Cabinet Hardware:
Use a damp microfiber cloth to wipe down baseboards, cabinet fronts, and hardware (knobs and handles accumulate hand oils and dust). This single step transforms a kitchen’s appearance because these areas trap visible dust that daily cleaning misses.
Bathroom Deep Cleaning: Tackling Grime and Hard-to-Reach Spots
Bathrooms demand mold and mildew control because moisture breeds bacteria. A thorough bathroom deep clean includes areas beyond visible surfaces.
Shower and Tub:
Remove items from shelves. Apply mildew remover to walls, grout, and caulk, let sit for 10 minutes minimum. Scrub with a stiff brush, paying special attention to corners and where tile meets caulk (mold hides there). For soap scum buildup, use a razor blade held at 45 degrees to scrape gently, then rinse thoroughly.
Toilet:
Apply toilet bowl cleaner under the rim and inside the bowl. Scrub under the rim with a toilet brush, bacteria colonize there. Wipe the exterior, base, and the area where the toilet meets the floor.
Baseboards and Grout:
Wipe baseboards with a damp cloth. For discolored grout, apply oxygen-based cleaner (bleach-free options work in ventilated spaces) or make a paste with hydrogen peroxide and baking soda. Brush gently with a grout brush: harsh scrubbing can damage old grout.
Vents and Fans:
Vacuum the exhaust fan cover and vent opening. Dust buildup here reduces ventilation and allows moisture to linger, creating mold conditions.
Safety note: Never mix bleach with ammonia-based products: toxic chlorine gas forms instantly.
Living Room and Bedroom Deep Cleaning Tips
These spaces often get overlooked because dirt isn’t as visible as kitchen grease or bathroom grime, but dust accumulation affects air quality and attracts allergens.
Ceiling, Walls, and Baseboards:
Use a microfiber duster or cloth wrapped around a broom handle to dust ceiling corners, crown molding, and ceiling fans. Wipe down light switches and door frames, hands touch these constantly. Baseboards collect dust bunny colonies: vacuum first with the crevice attachment, then wipe with a damp cloth.
Carpet and Upholstery:
Vacuum thoroughly, including under furniture you can move. For stains, apply a carpet-safe spot cleaner, let sit per instructions, then blot (don’t rub). Consider renting a carpet steam cleaner from a hardware store for deep-set stains or high-traffic areas.
Windows and Window Sills:
Vacuum sills and tracks first to remove grit. Wipe tracks with a damp cloth wrapped around a flat screwdriver or old credit card. Wipe glass with squeegee or newspaper for streak-free results.
Behind and Under Furniture:
Vacuum under beds, dressers, and nightstands. Move lightweight furniture and wipe baseboards behind it. This removes dust that circulates when you open a door or adjust the thermostat.
Creating a Deep Cleaning Schedule That Actually Works
Deep cleaning every room in one day exhausts most people: spreading it over a week or two keeps momentum steady and prevents burnout.
Sample Schedule:
• Day 1: Kitchen (highest priority: most bacteria and grease)
• Day 2: Primary bathroom
• Day 3: Secondary bathrooms and powder rooms
• Days 4–5: Master bedroom and other bedrooms
• Days 6–7: Living areas, hallways, and entryways
This approach lets you focus energy on one room at a time, allows drying time between spray applications, and gives you a satisfying sense of progress. When hiring a house deep cleaning service, professionals typically complete a full house in 4–8 hours depending on size.
For ongoing maintenance, tackle one room each weekend or rotate deep-cleaning tasks monthly (baseboards one month, ceiling fans the next). This prevents massive accumulation and makes the job manageable when you do decide to go all-in. Set calendar reminders for seasonal deep cleans (spring and fall work well) so you don’t forget during busy periods.
If you’re overwhelmed or short on time, deep cleaning companies near me can handle entire spaces in hours. A house deep cleaning service scales based on your home’s size and condition, making professional help worth it for seasonal deep cleans or special situations like post-renovation cleanup.
Conclusion
Deep cleaning isn’t complicated, it’s just systematic and thorough. By tackling one room at a time with the right tools and a realistic schedule, you’ll achieve results that rival any professional deep cleaning guide. Whether you go the DIY route or hire help, understanding the process ensures you know what questions to ask and what truly constitutes a deep clean. Start this week, stay consistent, and your home will reward you with cleanliness that lasts.