Dirty siding doesn’t just look neglected, it degrades faster and signals deferred maintenance to everyone driving past. Whether you’ve got stubborn mold, algae, pollen buildup, or just years of grime, cleaning house siding is a straightforward DIY task that pays dividends in curb appeal and longevity. With the right approach, tools, and a half day of work, you can tackle this project yourself rather than paying a contractor $500–$1,500. This guide walks you through material-specific techniques, safety essentials, and the methods that actually work.
Table of Contents
ToggleKey Takeaways
- House siding cleaning is a manageable DIY project that saves $500–$1,500 in contractor costs while restoring curb appeal and extending material lifespan.
- Regular annual siding maintenance prevents mold and algae buildup that traps moisture and accelerates structural damage, especially on wood and fiber cement.
- Use low-pressure equipment (1,500–2,500 PSI maximum), soft-bristled brushes, and material-specific cleaning solutions like oxygen bleach for wood to avoid damage and leaks.
- Always prioritize safety by wearing goggles, nitrile gloves, and a respirator when handling bleach or commercial cleaners, and reposition your ladder frequently to prevent falls.
- Work from top to bottom in sections, let cleaning solution sit for 10–15 minutes before scrubbing, and allow 48–72 hours of dry weather after cleaning before sealing or painting.
- Professional help is worth the cost if you face steep roof pitches, mobility concerns, or signs of active wood rot that may require replacement.
Why Regular Siding Maintenance Matters for Your Home
Siding protects your home’s structure from weather, pests, and moisture infiltration. When algae, mold, and dirt accumulate, they trap moisture against the surface and can accelerate material breakdown, especially on wood and fiber cement. Regular cleaning (typically once a year, or more in humid climates) prevents costly repairs down the line.
Beyond structural health, clean siding restores your home’s appearance. Mold and algae thrive in shaded areas and spread over time if left unchecked. A thorough cleaning refreshes your home’s exterior without the expense of replacement or repainting. It’s also a smart move before selling: first impressions matter, and clean siding signals that the rest of the home is well-maintained.
For homeowners in humid or coastal regions, algae growth is almost inevitable. Don’t wait for it to cover half your wall, a yearly maintenance clean is far easier than a once-a-decade deep scrub.
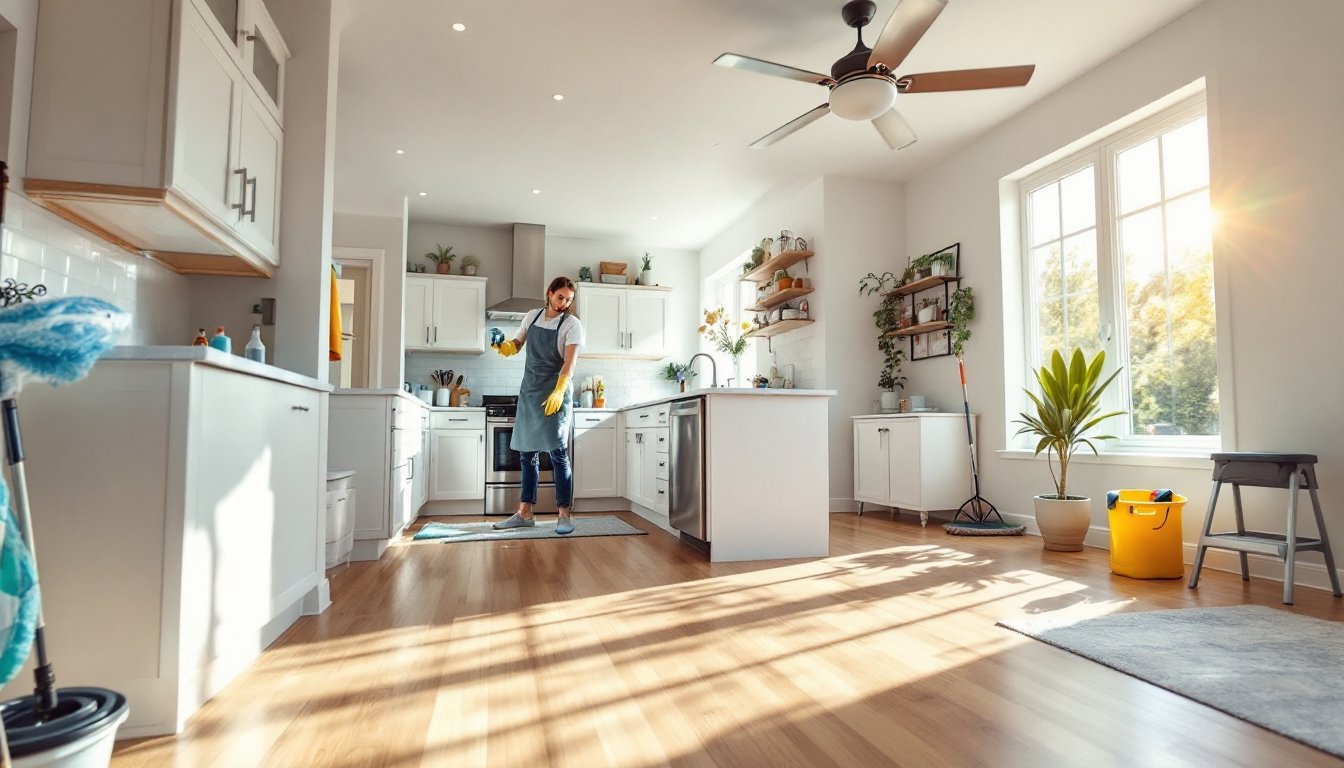
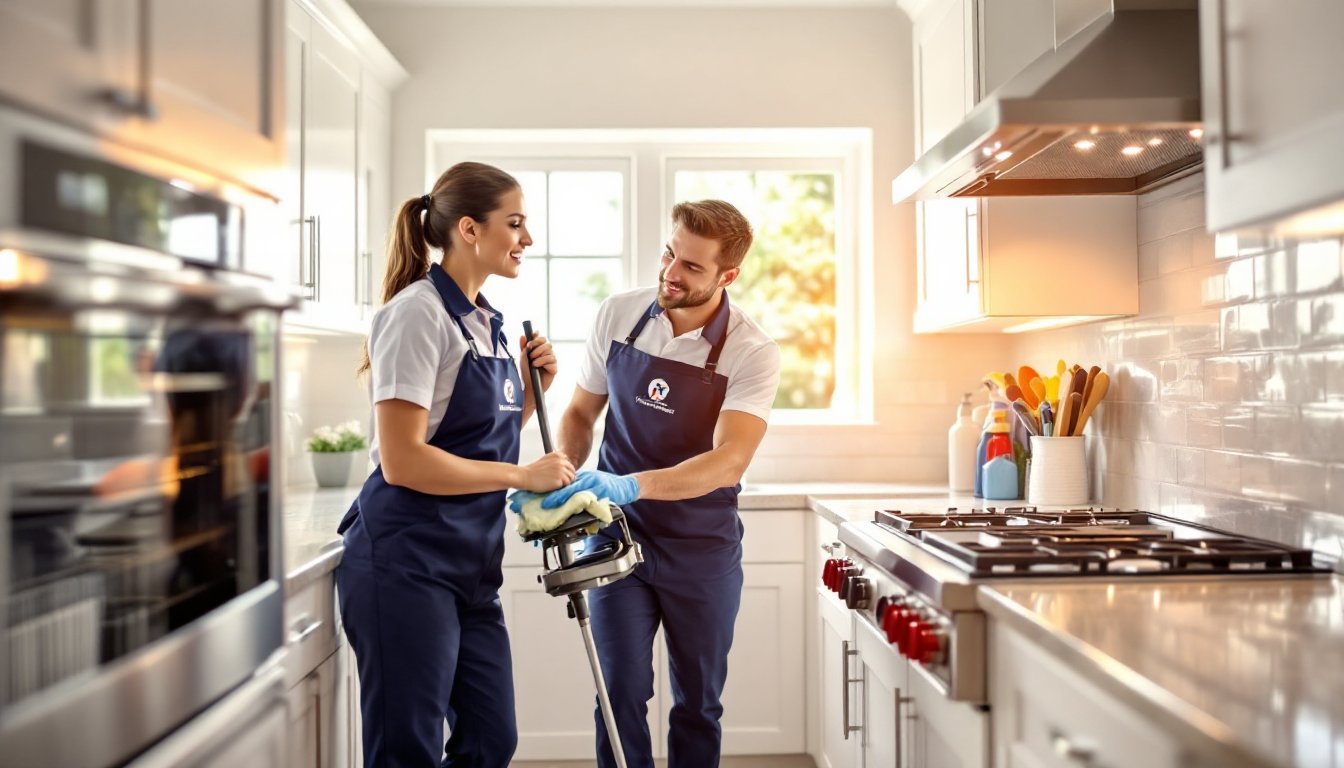
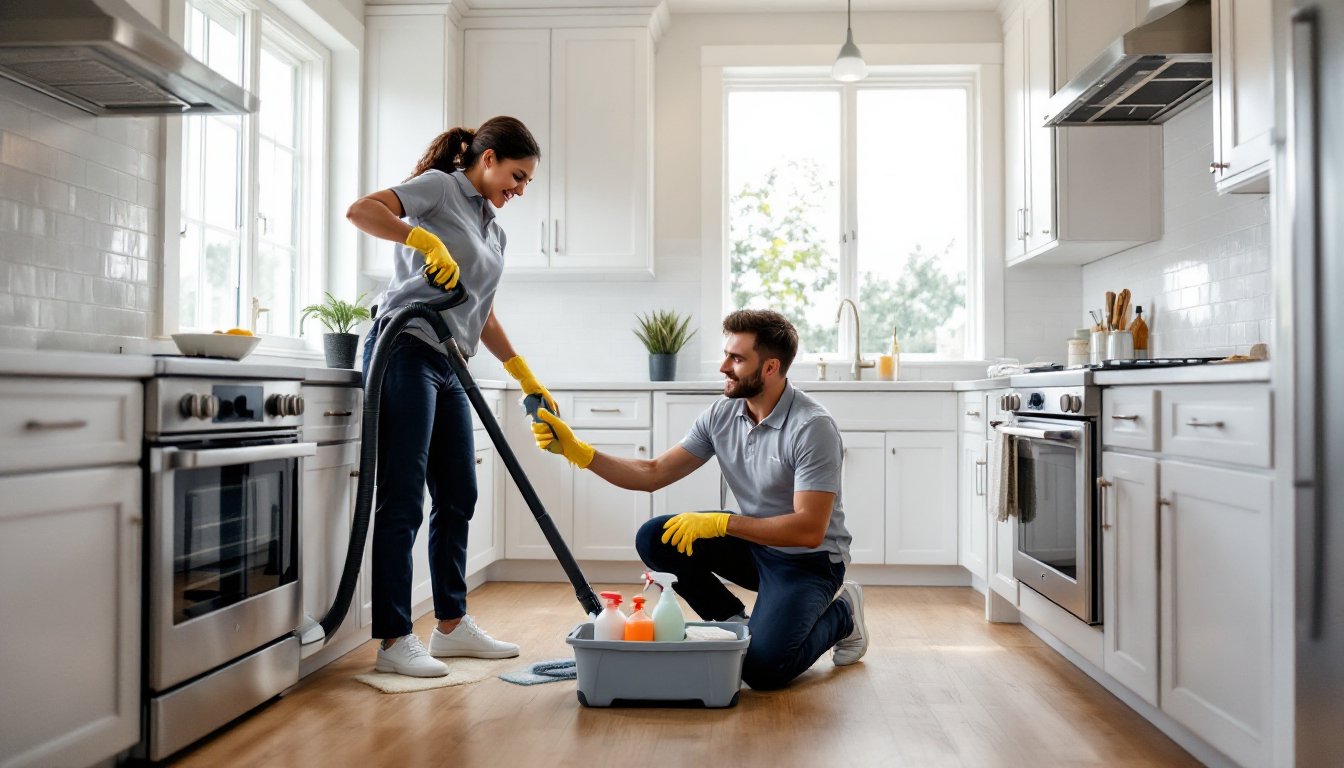
Gathering Your Tools and Safety Supplies
Essential Equipment You’ll Need
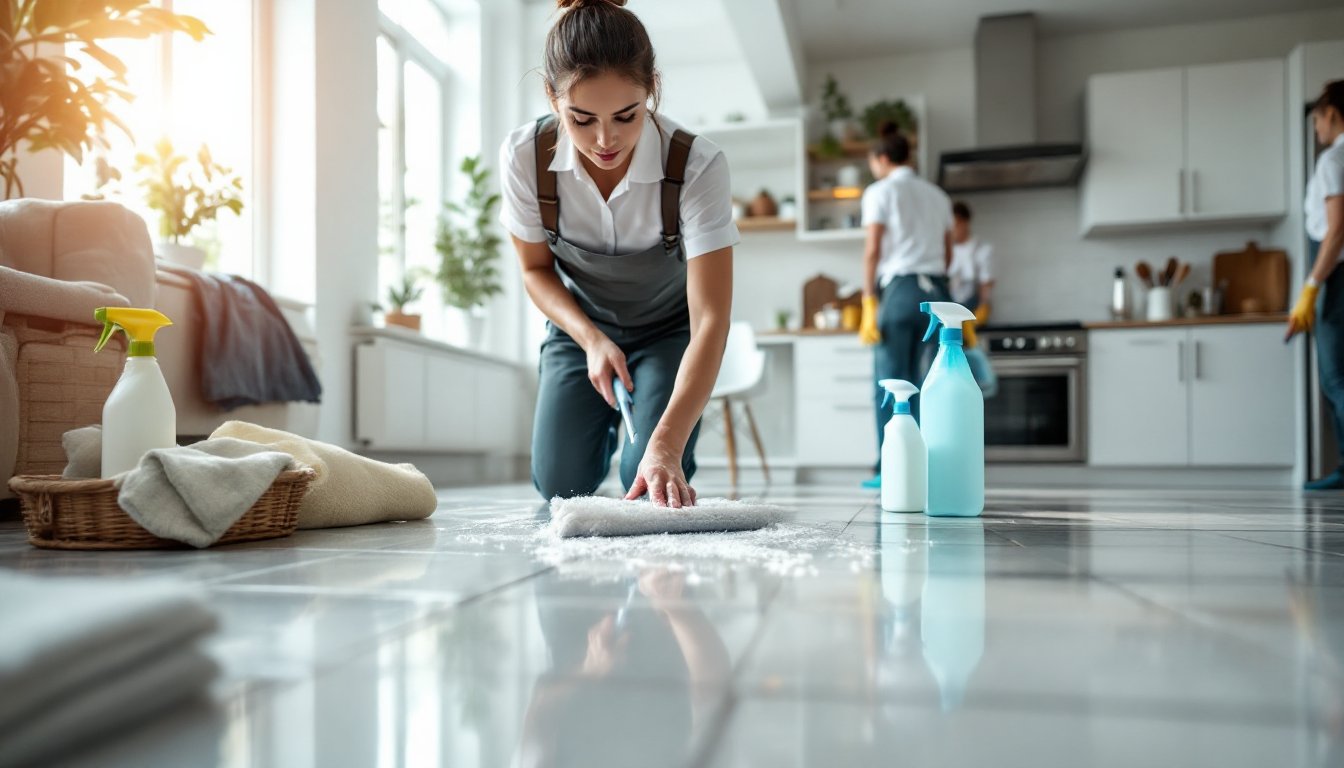
You’ll want a soft-bristled brush (not a wire brush, which can damage siding), a garden hose with spray nozzle, and buckets for mixing cleaning solution. A extension pole (typically 6–12 feet) saves you from constant ladder repositioning and reduces fall risk. If you’re dealing with stubborn algae or mold, consider renting or buying a low-pressure power washer (1,500–2,500 PSI maximum) rather than a high-pressure unit, which can force water behind siding seams and cause leaks.
For cleaning solution, you have options: a commercial deck/siding cleaner (following label directions), oxygen bleach (a gentler alternative to chlorine), or a homemade mix of 1 part household bleach to 10 parts water for mold and mildew. Always read product labels and test any solution on a small, inconspicuous area first.
You’ll also need ladders or scaffolding, a 20-foot extension ladder is standard for single-story homes. Invest in a stable ladder stabilizer bar or hire a helper to spot you. Don’t overreach: reposition the ladder frequently.
Safety Precautions to Follow
Wear ANSI-rated safety goggles to protect against splashing caustic solutions and rinse spray. Chemical exposure and detergent in the eyes is no joke. Use nitrile gloves (latex breaks down faster under bleach) and a respirator mask if you’re mixing or applying concentrated bleach or commercial cleaners, those fumes are serious. If you’re using a pressure washer, long pants and closed-toe shoes are mandatory: the jet can cause nasty cuts.
Always work during daylight hours on a day when rain isn’t forecast, your cleaning solution needs time to work, and rain dilutes it. Check weather for high wind, which makes ladder work dangerous and can carry mist into your face. Never mix bleach with ammonia or other cleaners: chlorine gas is lethal. If you have mobility issues, a steep roof pitch, or concern about fall risk, hire a professional, this is a job where a bad fall costs far more than the service.
Step-by-Step Cleaning Methods for Different Siding Types
Vinyl and Fiber Cement Siding
Vinyl siding is durable but can become brittle in cold, so avoid aggressive scrubbing in winter. Start with a pre-rinse of the entire wall section using a low-pressure spray (gentle stream, not a jet). This loosens surface debris and lets you gauge how much cleaning solution you’ll need.
Mix your cleaning solution and apply it with a long-handled soft brush or a deck cleaner applicator (a sponge mop on a pole works too). Work from top to bottom in 8–10 foot sections, letting the solution sit for 10–15 minutes so it can penetrate mold and algae. Don’t let it dry: that defeats the purpose. Scrub gently in a circular motion, you’re not refinishing concrete, just removing surface buildup.
Rinse thoroughly with your hose on low-to-medium pressure, starting at the top and working down. This prevents dirty water from running onto clean sections below. For fiber cement, follow the same approach but be extra careful not to oversaturate joints, as fiber cement absorbs water more readily than vinyl.
A pressure washer on 1,500–2,000 PSI works for vinyl if you keep the nozzle moving and hold it at least 2 feet away from the surface. Never use high pressure: it can crack vinyl planks and force water into seams. For detailed guidance on vinyl siding maintenance, systematic approaches yield the best results without risk of damage.
Wood and Metal Siding
Wood siding demands extra care because moisture is its enemy. If mold is present, address it quickly, wood rot spreads. Use the same gentle brush-and-rinse method, but consider oxygen bleach instead of chlorine bleach for wood: it’s less harsh and won’t strip color as aggressively.
Metal siding (aluminum or steel) is forgiving and can handle slightly higher water pressure (up to 2,500 PSI) without damage, but stick to the gentle approach to avoid creating new problems. Be wary of dents that can trap water: you might need to address those separately.
After cleaning wood siding, allow at least 48–72 hours of dry weather before any staining, sealing, or painting. Trapping moisture under a finish is the fastest way to cause wood damage. If you notice soft spots, discoloration, or active rot, that section may need replacement, a sign to call a professional before it spreads.
Don’t pressure-wash wood directly: the jet can splinter fibers and open grain, inviting water infiltration. Stick with hand-scrubbing and low-pressure rinse. Comprehensive home improvement guides emphasize that prep work, including proper drying time, prevents most long-term siding failures. Many homeowners skip this step and pay for it later.